
Chalk Bag Retrospective
Finally, another finished project! I’ve been in a bit of a crochet slump for the past few weeks after having a very productive March. I felt stuck not being able to choose what I wanted to work on and nothing felt particularly interesting. I decided to rip off the band-aid and commit to a project I have had on my to do list for a while: a chalk bag for climbing.
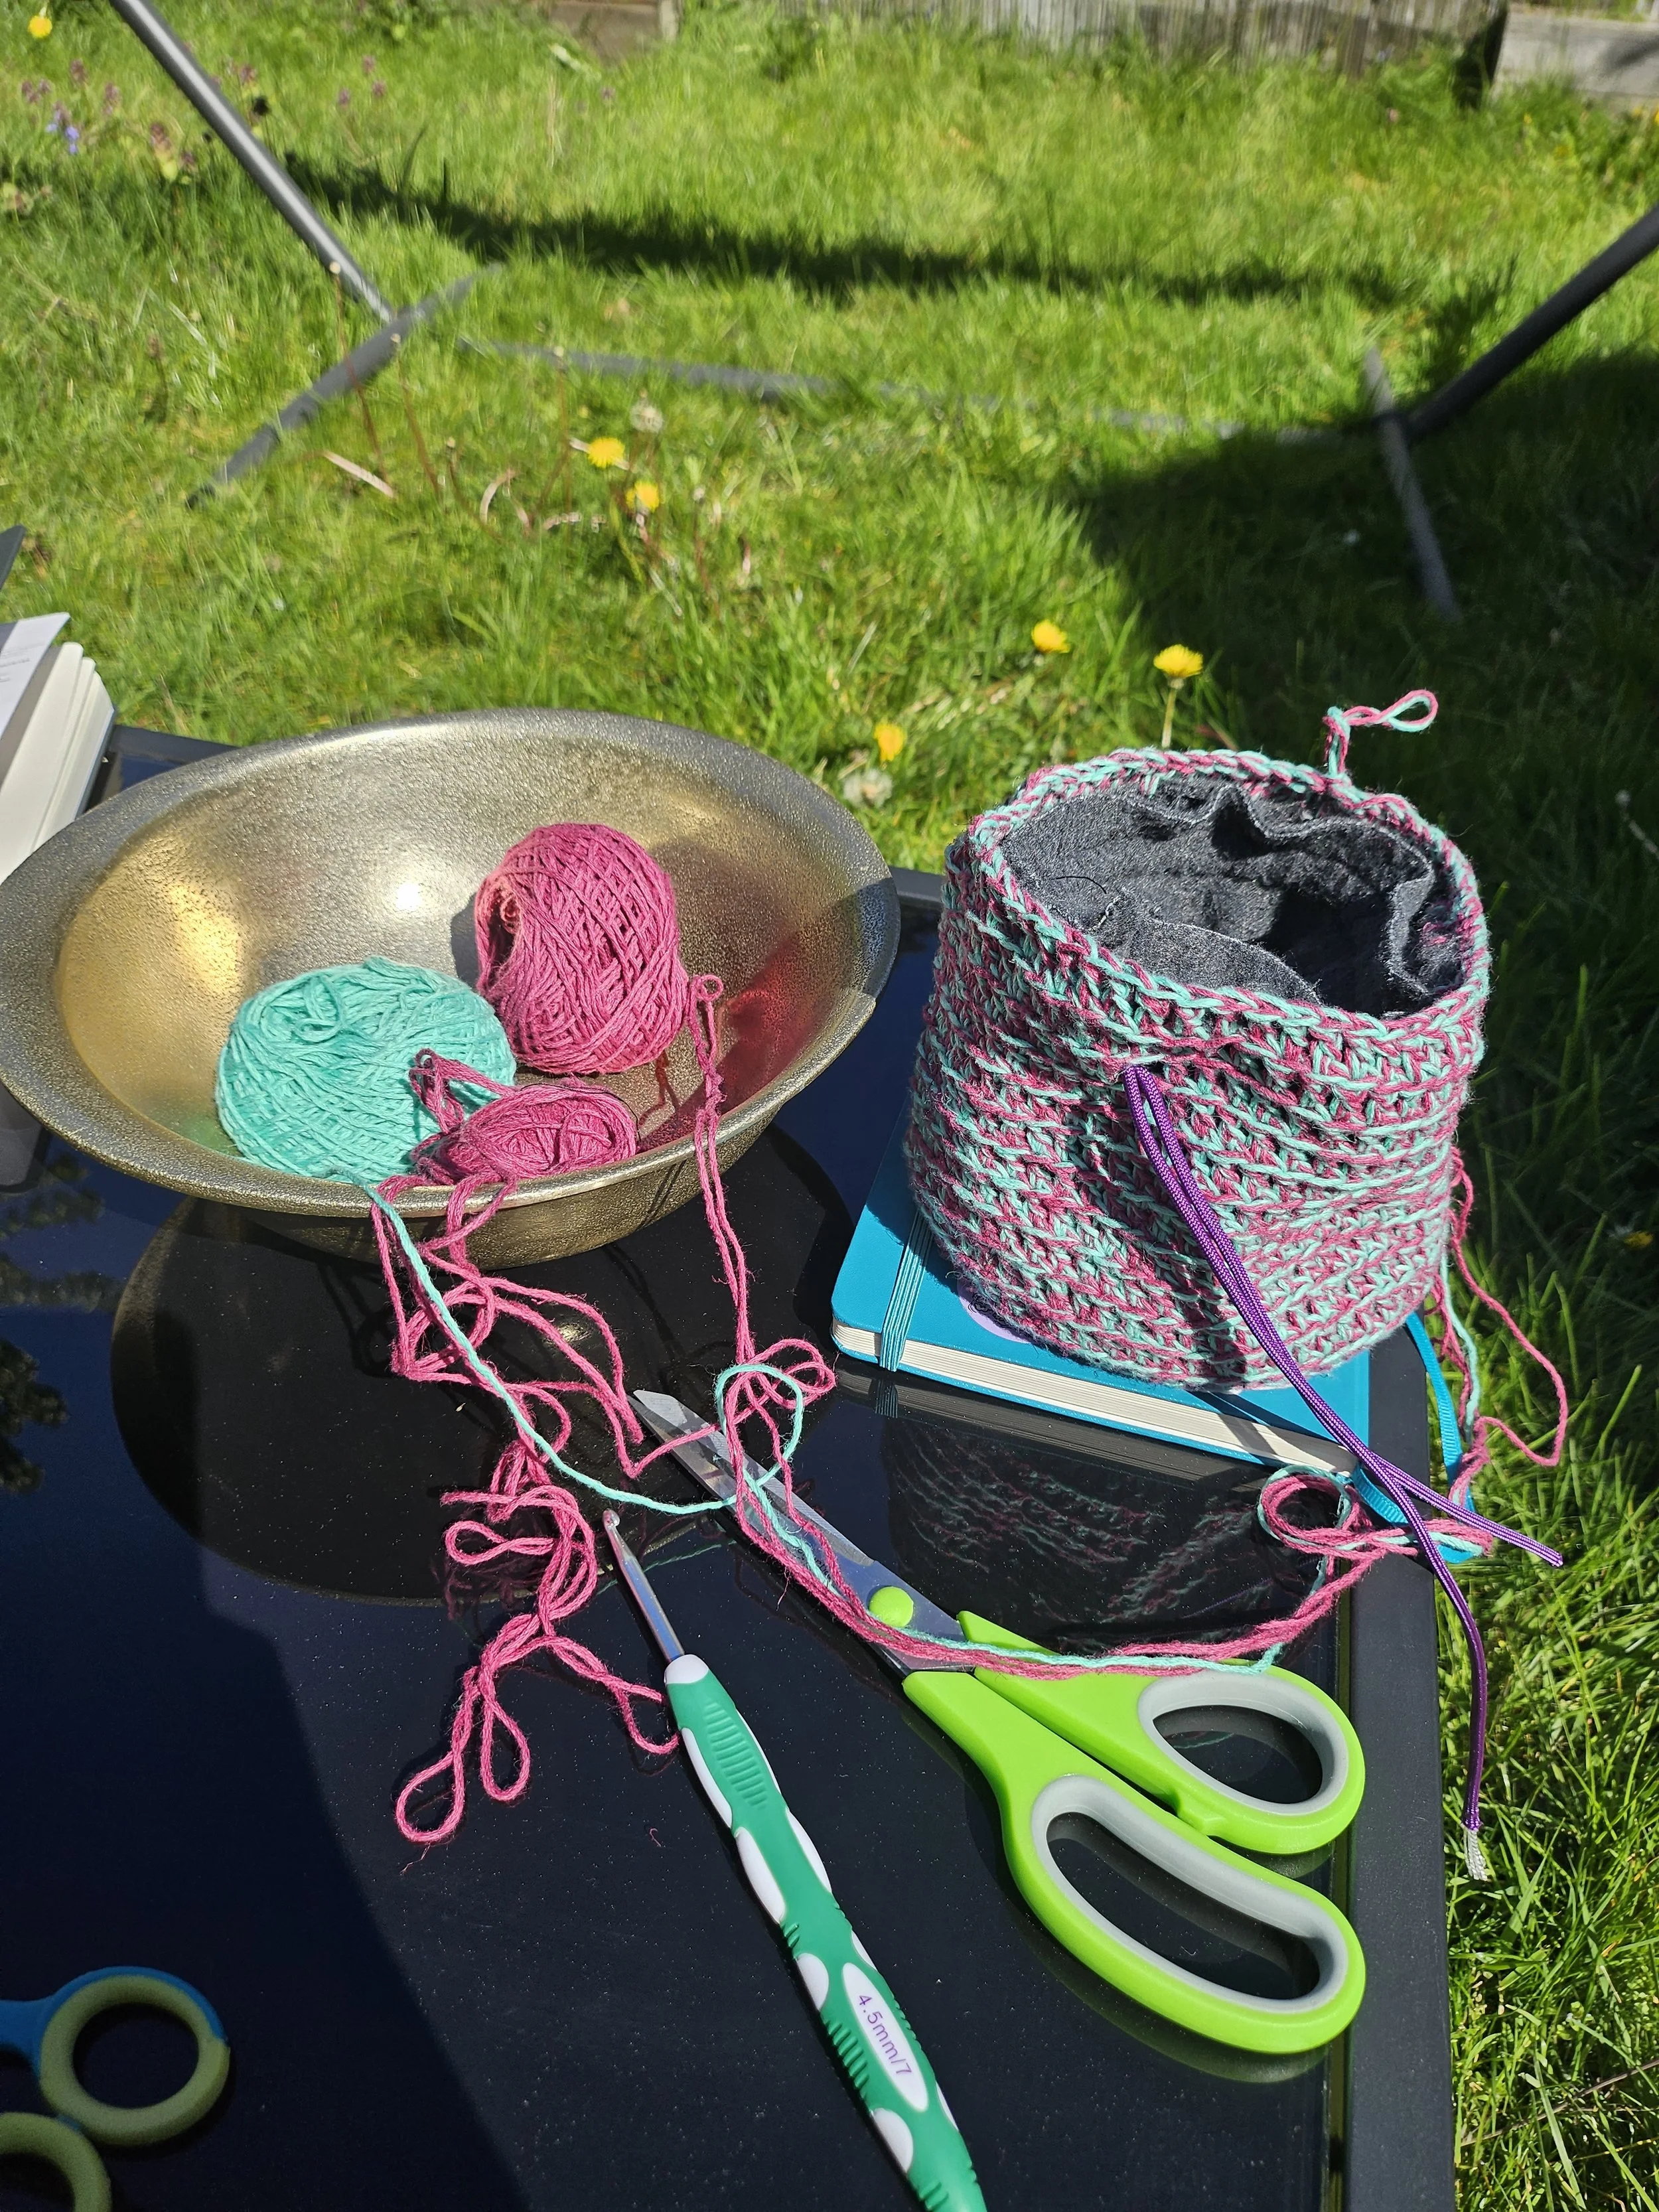
While on the surface a chalk bag might seem like a pretty straightforward project, there is an added layer of difficulty involving making sure the chalk bag is spill proof. This means that sewing was involved to create an inner fleece cylindrical lining. I pushed past my lack of machine sewing experience to complete the chalk bag, and I am so happy I did because it turned out better than I thought it would. While not perfect and there being clear room for improvement, there are a few aspects of the bag I am proud of due to the overall improvisation. I decided to outline some successes and areas to improve on in this blog post, and share how I am planning on taking what I have learned from this project into my next iteration.


What Went Well
Since I completed the chalk bag and it holds chalk and it can hang from my waist, I would say it was a success! I kind of just eyeballed overall dimensions modeling another bag I own, and the chalk bag ended up being the perfect size. It’s a shallow and wide bag, perfect to fit both of my hands and not have too much extra height or excess space. I also got a few compliments on the size of the chalk bag, which affirmed what I thought I had done well.
I am also really proud of the fact I was able to complete this project without any patterns or guides. This project was basically just improvisation practice, but I think it’s pretty neat I was able to draft up an idea and make it happen. I didn’t start this project sooner because I was overwhelmed by all the moving parts and I didn’t think I could do it, but I did!!
What Could Be Improved
The biggest place for improvement is the fleece lining of the bag and how it is sewn. The lining would benefit tremendously from me learning how to sew, as it is not symmetrical or even at all. I struggled to sew along the edge of the circle and could not keep an even seam allowance. After 4 tries, I got some semblance of a cylinder completed, but it is not the best work I could’ve done had I taken the time to properly learn how to sew along a circle and attach another piece of fabric.
As most of my attention went to the sewn part of the bag, I overlooked other potential bag improvements, such as a better system for cord attachment. As it stands right now, the entire bag scrunches closed when I pull the cord to fasten the bag shut. Ideally, I would like to only have the fleece liner close shut, while the body of the bag stays un-scrunched. This is similar to how my 8BPLUS chalk bag operates, and I think that design looks very clean. I also need to figure out how to keep the ends of the fastening cord from fraying, as when I cut the cord to length the internal rope became exposed and started to fray.
Another detail that got thrown to the wayside as I rushed to finish the bag was the belt loops and how I attached them. They are attached via improvised crochet and the bag can hang from my waist, but it doesn’t feel the most secure. I need to invest some time in learning a proper, sturdy crochet join or even sew on belt loops so that I feel confident they won’t break. I think overall that the bag is sturdy enough to be used on my waist for an entire climbing session, but I would like to be extra safe by ensuring the loops are attached well with attention to detail.
Overall Thoughts
For a first attempt, I think this chalk bag turned out better than expected. I am really proud of what I made and that it is structurally sound and usable. The added layer of difficulty involving including a waist band and a cord for tightening the bag also went smoothly which I was really excited about. Towards the end of making the chalk bag, however, I definitely felt antsy and wanted to finish so I rushed through a lot of small details such as attaching the belt loops to the bag. This is a consistent issue I have with any project I work on, and I need to pace myself at the end of projects.
My biggest takeaway from this chalk bag is that I need to work on my sewing techniques before I try again. Learning how to properly sew an even cylinder will alleviate a lot of stress and wasted time from my next attempts and will make the finished product look even better! The most important part of the chalk bag is that it is able to hold chalk without spilling, and having a completely sealed fleece liner is integral to the chalk bag being functional.
What’s Next
Writing this retrospective helped me gauge what I should work on next to improve on my chalk bag design. I will be spending time focusing on my sewing skills and techniques, and learning how to better use my sewing machine. The resources I’m planning on using are Youtube and Craftsy to build on the basics and maybe find some simple project ideas to practice before making my next chalk bag.
I will also be compiling the notes I took while working on this chalk bag and begin drafting up a pattern/ guide for making a similar chalk bag. I think these are unique enough to where other crafty climbers might want to make their own. I have some further experimentation I want to do with different yarn weights before beginning to write a pattern, but the goal is ultimately to enable others to be able to make their own chalk bags.
Thanks for reading through this retrospective! I really like this format as it highlights my thought process on successes and improvements more clearly than just sharing a project I’ve finished. I would love to hear any feedback or ideas in the comment section below.